Jobsite Photo Documentation Contractors Can Rely On
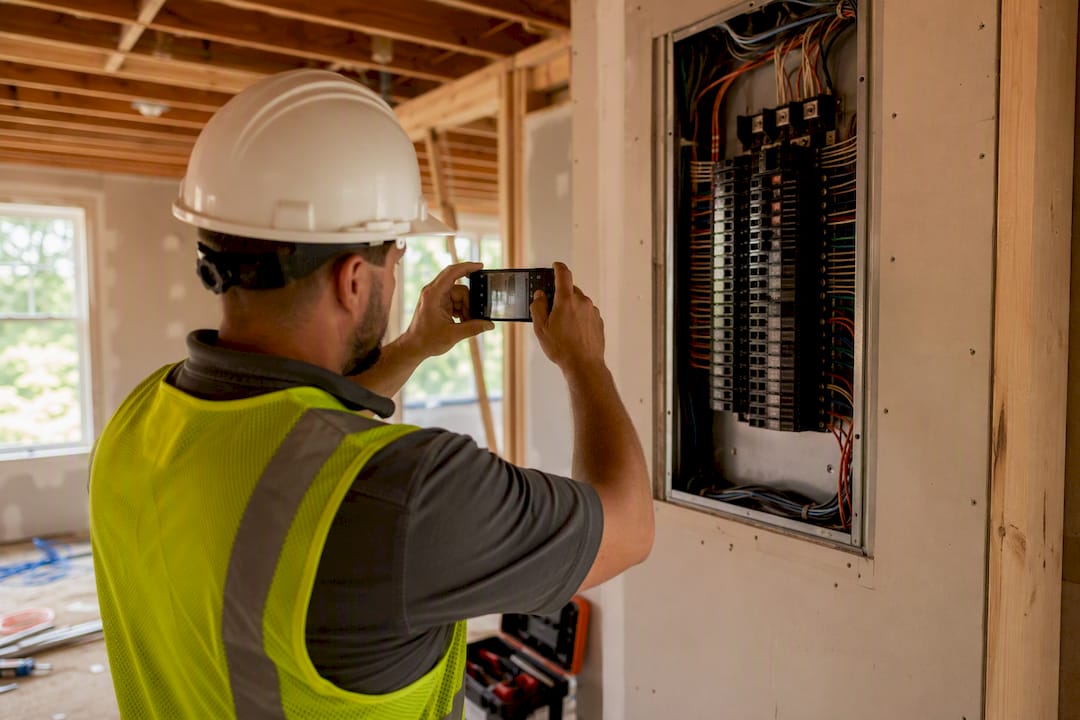
Adopt a structured, app-first photo workflow that ties timestamped and GPS-stamped photos to project tasks and cost codes, and you eliminate most disputes before they start. FLIP builds this workflow directly into its project management tools, so photo evidence never sits disconnected from the job it documents.
Three things to do today:
- Standardize your capture order: wide shot, mid-range, then close-up with a scale reference.
- Store every photo in a single cloud location tied to the project, never scattered across personal phones.
- Require timestamp metadata and GPS metadata on every image, no exceptions.
Key Takeaways
Reliable jobsite photo documentation works because timestamped, GPS-tagged photos linked to tasks and cost codes turn images into defensible evidence, not clutter.
| Point | Details |
|---|---|
| Capture in phases | Document pre-work, concealment points, inspections, and close-out with matching angles. |
| Standardize the shot sequence | Wide, mid-range, then close-up with a scale reference every time. |
| Tag everything immediately | Link photos to cost codes and plan locations the moment they’re taken. |
| Require must-have app features | Timestamp/GPS metadata, tamper-proof images, offline sync, and task linking come first. |
| Use Flip for verified approvals | FLIP ties photo-verified work approval directly to tasks and cost codes for flippers. |
Table of Contents
- Why Jobsite Photo Documentation Is Non-Negotiable
- What to Capture at Each Phase of the Job
- How Should Crews Capture Photos in the Field?
- Where Should You Store and Organize Jobsite Photos?
- What App Features Should Contractors Require?
- How Flip Turns Photo Documentation Into Approved Work
- What Field Crews Get Wrong Most Often
- Try Flip for Photo-Verified Project Management
- Sources
Why Jobsite Photo Documentation Is Non-Negotiable
A disciplined photo workflow is what stands between you and a costly dispute you can’t win because you have no proof. Photos with location and timestamp data function as legal evidence, they back up change orders, they verify billing, and they give owners confidence their money bought what they think it bought.
Structured capture also changes what a photo is. Rather than a random snapshot buried in a camera roll, a tagged image becomes a data point tied to a plan location, task, and cost code, which means finance and production teams can pull it up during an audit instead of digging through group texts.
- Legal evidence: timestamped photos hold up when a claim goes to arbitration.
- Change orders: before/after pairs settle scope disagreements fast.
- QA and billing verification: photo-verified milestones stop you from paying for work that wasn’t done.
Industry guidance increasingly frames this shift as moving from casual snapshots to structured project intelligence, where every image carries metadata that makes it usable later, not just viewable.
What to Capture at Each Phase of the Job
Random photos taken “just in case” almost never help you when a dispute lands months later. A phase-by-phase plan does, because it forces you to document conditions before they’re covered, altered, or forgotten, following the same structured checklist that reduces rework across industries.
- Pre-work/site survey: wide shots of every room and exterior elevation, close-ups of existing damage, and any pre-existing conditions that could later get blamed on your crew.
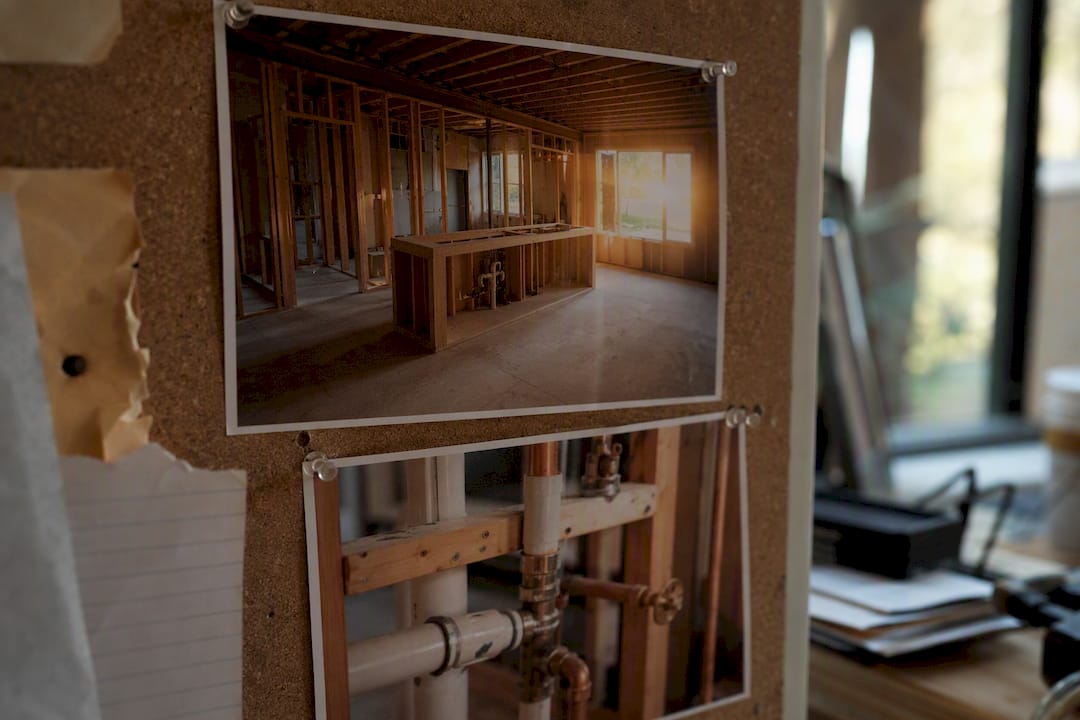
- During work, at concealment points: photograph plumbing, wiring, and framing before drywall goes up, since these are the shots that save you when a wall gets opened two years later.
- Inspections and QA checkpoints: capture the inspector’s sign-off, tag numbers, and any noted deficiencies, matched to the same camera angle as your pre-work shot.
- Handover/close-out: a final walkthrough set that mirrors your pre-work angles exactly, so the before/after comparison is unmistakable.
| Phase | Minimum shots per location | Key detail to include |
|---|---|---|
| Pre-work survey | 3 (wide, mid, detail) | Date, existing damage, fixed reference point |
| During work / concealment | 4 (per trade point) | Serial numbers, crew ID, cost code |
| Inspections | 2 (overview, deficiency) | Inspector name, sign-off status |
| Handover / close-out | 3 (matching pre-work angles) | Final condition, punch-list closure |
Pro Tip: Tag every photo to its cost code or plan location the moment you take it. A photo without financial context is just a picture; a photo linked to “Electrical—Section 2” is evidence you can defend a bill with.
How Should Crews Capture Photos in the Field?
Every photo set should follow the same sequence: a wide shot that shows where you are, a mid-range shot that shows what you did, and a close-up with a tape measure or level for scale. Skip the wide shot and nobody six months from now can tell which room they’re looking at.
- Keep the sun or work light behind you, never behind the subject, or you’ll get a silhouette instead of a wall.
- Photograph serial numbers and model plates directly, not from an angle you’ll need to guess at later.
- Caption immediately, either typed or with a voice-to-text note, because waiting until end of day produces thousands of unlabeled photos nobody can sort.
Chain-of-custody matters more than most crews realize. A photo with no record of who took it, when, or why is weak evidence in a claim, while one with mandatory fields for who/what/why and an automatic timestamp holds up.
Quick training sequence for new crew members:
- Arrive at the location and shoot wide.
- Shoot mid-range showing the work itself.
- Shoot close-up with a scale reference.
- Record a one-sentence voice or text caption.
- Confirm the photo synced before leaving the location.
Pro Tip: Sites with weak signal shouldn’t be an excuse for gaps. Apps built for the field save photos locally and auto-sync once connectivity returns, so nothing gets lost between the basement and the parking lot.
Where Should You Store and Organize Jobsite Photos?
A photo nobody can find later isn’t documentation, it’s clutter. Set a naming convention like project-area-date-shotType, and pair it with a tag taxonomy covering phase, cost code, trade, and issue, so a search for “Structural Concrete—Section 4” pulls every related image instantly.
- Keep one cloud project repository per job, not a mix of phones, email threads, and shared drives.
- Confirm offline captures sync automatically once back online, so field gaps don’t become office gaps.
- Generate reports directly from tagged photos rather than manually assembling slide decks before an owner meeting.
A centralized, plan-linked repository cuts down on site revisits because reviewers can check conditions remotely instead of driving out to confirm something a photo already proved.
What App Features Should Contractors Require?
Not every feature matters equally, and chasing every add-on before you’ve adopted the basics is how teams abandon the whole system in month two. Start with the must-haves.
Must-have:
- Automatic timestamp and GPS metadata on capture, no manual entry.
- Tamper-proof, forensics-ready images that hold up if challenged in a dispute.
- Offline capture with automatic sync once the connection returns.
- Annotation and markup tools for flagging issues directly on the image.
- Project and task linking, so every photo ties to a cost code or plan location.
- Automated report export for owners, lenders, and inspectors.
Nice-to-have, add later:
- AI auto-tagging to speed up sorting on high-volume jobs.
- 360-degree or VR walkthroughs for large renovations.
- Blueprint pinning and voice-to-text notes.
- Integrations with your existing project management stack.
Apps that pin photos to floor plans and auto-capture GPS data make it fast to line up before/after sequences without hunting through folders.
How Flip Turns Photo Documentation Into Approved Work
FLIP builds photo verification directly into the approval workflow, so a subcontractor’s completed task gets checked against a photo before payment goes out, not after. That single feature closes the gap between “the crew says it’s done” and “the owner can prove it’s done.”
Two examples of this in practice: a flipper approves a subcontractor’s tile work through a photo-verified checkbox instead of driving to the site, and a close-out photo package gets exported automatically for a lender who needs proof of completed scope before releasing the next draw.
- Photo-verified work approval linked directly to tasks and cost codes.
- Exportable reports built for lenders, owners, and inspectors.
- Rehab scope checklists organized by house age and condition that pair naturally with before/after documentation.
Founder Nick Koenen built FLIP after losing money on flips to the same problem this article addresses: no reliable link between what a photo showed and what a budget line said.
What Field Crews Get Wrong Most Often
The mistake I see repeated most is inconsistent metadata. One crew tags photos meticulously, the next one on the same job doesn’t, and now half your documentation is useless during a dispute. Missing reference shots are the second problem: a close-up with no wide shot before it tells you nothing about location.
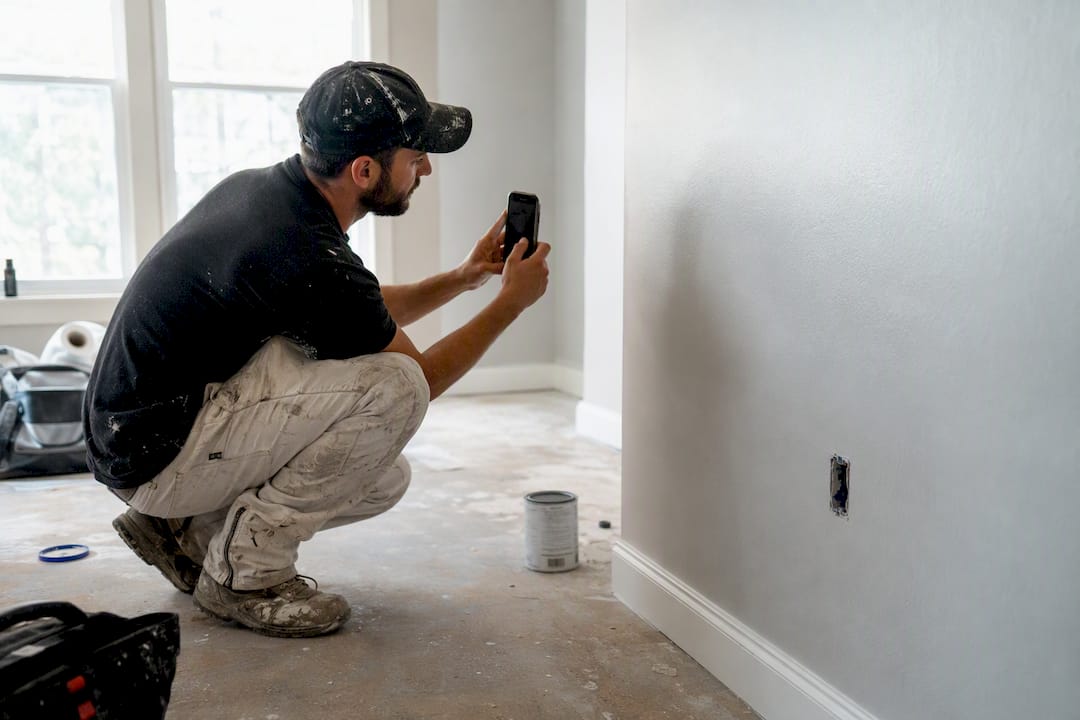
Pro Tip: Enforce a minimum number of shots per location and a mandatory caption before the crew leaves the site. That one rule fixes most of what goes wrong.
Try Flip for Photo-Verified Project Management
FLIP turns the workflow this article recommends into an actual product: timestamped, GPS-tagged photos linked straight to tasks, cost codes, and subcontractor approvals, so you’re not stitching together spreadsheets and text threads to prove what happened on site. During a free trial, you’ll see photo-verified approvals cut the back-and-forth that normally happens before a draw request or an owner update.
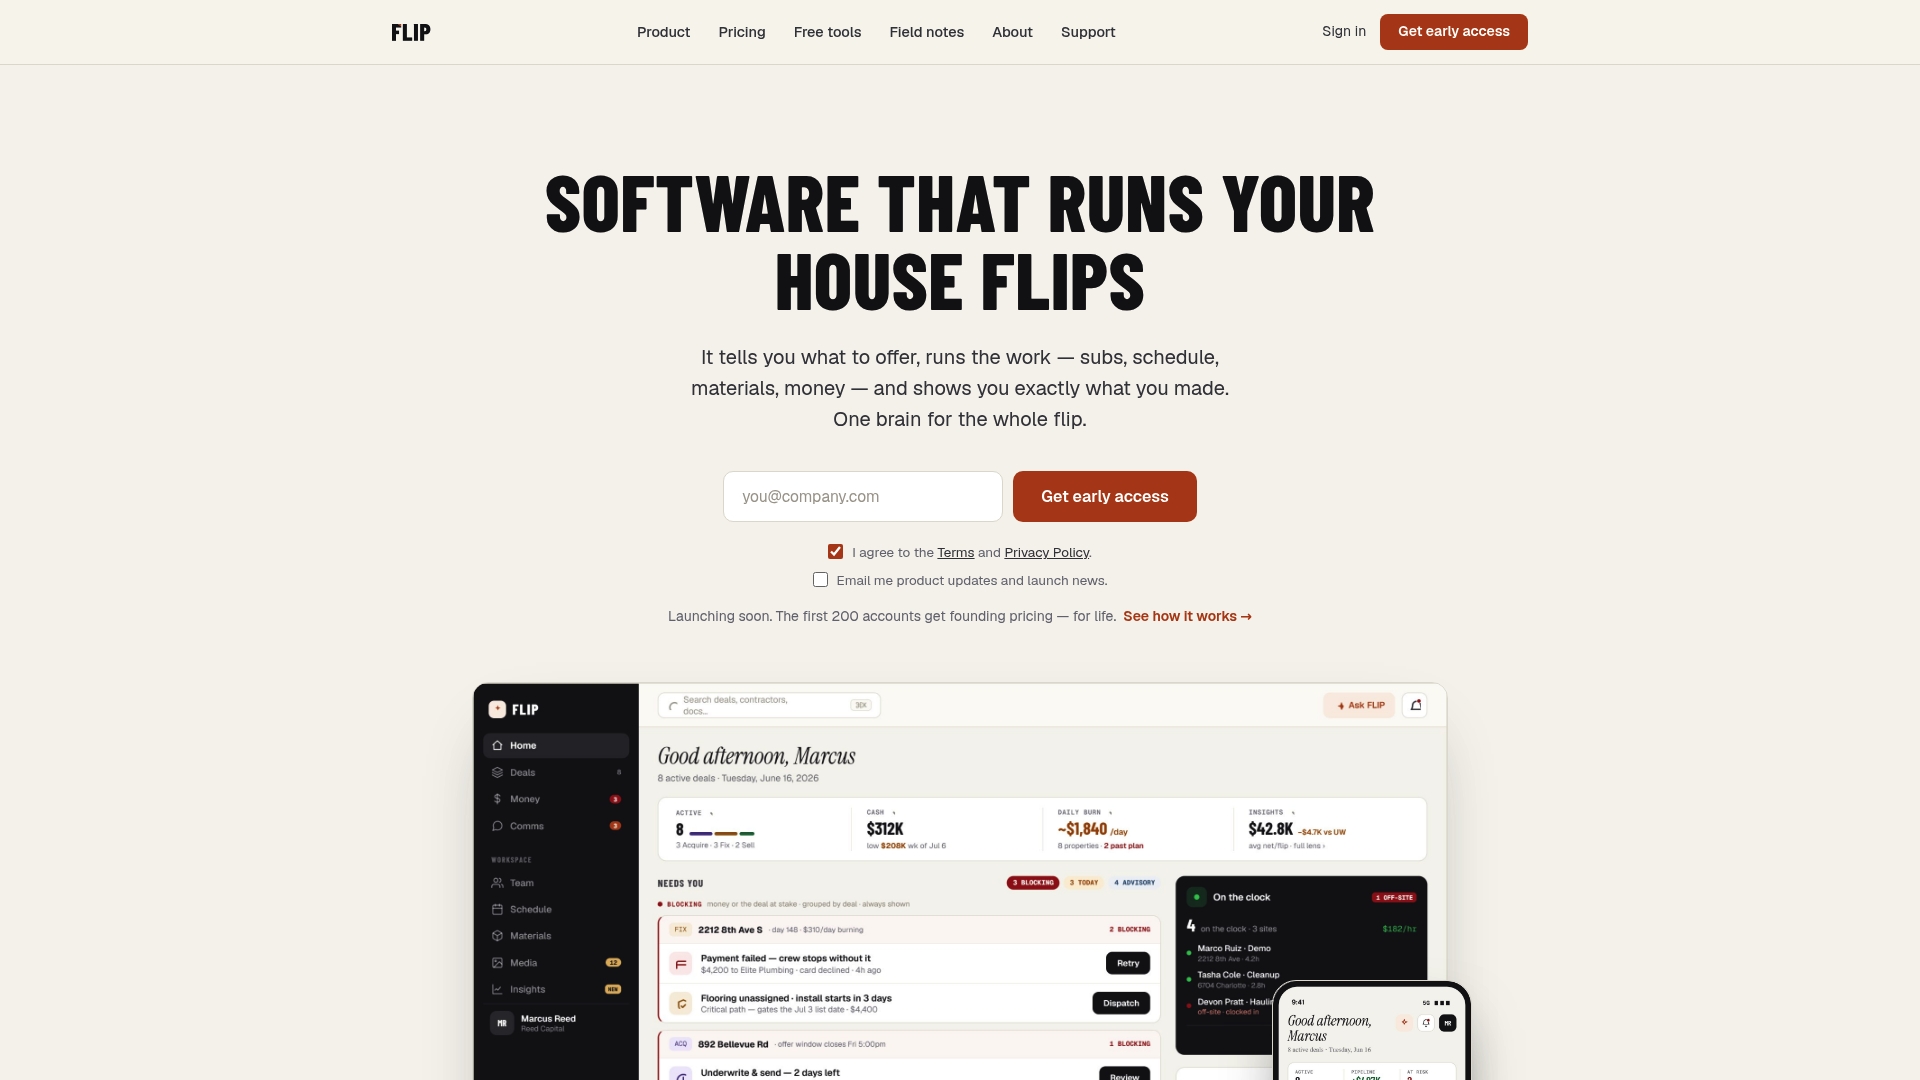
Every task gets a photo trail, every approval gets a paper trail, and every close-out package builds itself instead of costing you a weekend. Start your free trial with Flip and connect your first project’s photo documentation to its budget the same day.
Sources
- Mastering construction photo documentation: a guide to project success
Recommended
FLIP runs the whole job — scope, subs, schedule and money on one record.