Pre-Drywall Inspection: What Flippers Should Check Before the Walls Close
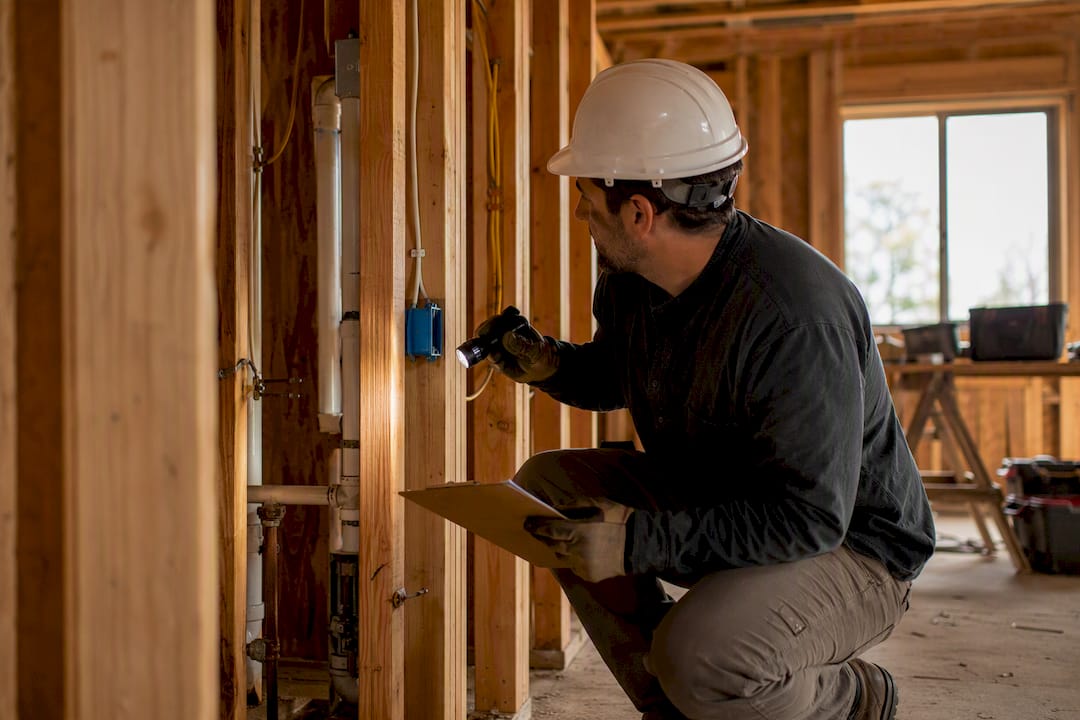
The short version
Book the rough-in inspection before anyone hangs a sheet of drywall. It is the last moment the wiring, plumbing and framing on your flip are visible, and the difference between finding a problem then and finding it at resale is the difference between a cheap fix and a renegotiation.
Why this inspection matters more on a flip than on new construction
Most writing about pre-drywall inspections is aimed at somebody buying a new build from a production builder. The advice does not transfer cleanly, because a flipper is on the other side of the transaction and carrying different risk.
On a flip you are the one who will be asked to warrant this work. When the house goes under contract, the buyer’s inspector walks the basement and the mechanical room with a flashlight. Anything wrong behind the drywall becomes your problem at the worst possible moment: under contract, on a closing date, with a buyer who can walk.
The rough-in inspection is the only point where that risk is cheap to retire.
What actually gets checked
Three systems, and they are inspected before insulation because insulation hides all of them.
| System | What the inspector is looking for | What it costs to fix later |
|---|---|---|
| Electrical rough | Box fill, wire gauge against breaker size, staple spacing, grounding, box placement | Opening finished walls, re-taping, repainting |
| Plumbing rough | Slope on drain lines, venting, pressure test holding, hanger spacing | Cutting into finished walls or ceilings below |
| Framing | Notching and boring within limits, headers, blocking, fire blocking | Structural remediation, engineer involvement |
The pattern is the same across all three. Every one of these is a small correction while the wall is open and an expensive one after it is closed.
The sequencing point most operators miss
Drywall cannot start until the rough-in inspection passes. That single dependency sits in the middle of a rehab schedule and blocks more than it looks like it does.
Paint waits on drywall. Tile waits on drywall. Cabinets wait on drywall, countertops wait on cabinets, and plumbing trim waits on countertops and tile. Flooring waits on paint, finish carpentry waits on flooring, and the punch list waits on all of it.
So a failed rough-in inspection does not cost you the re-inspection. It costs you every trade behind it, and their calendars do not have a spare week in them waiting to absorb your problem. Every day of that slip is holding cost you are still paying.
How to not fail it
-
Walk it yourself before the inspector does. You are not looking for code violations, you are looking for work that is obviously unfinished. Half the failures are things anyone would notice.
-
Have the trades present, or at least reachable. A correction made while the electrician is still on site is free. The same correction next week is a return trip you pay for.
-
Photograph every wall before insulation. This is the cheapest insurance in the business. When a buyer’s inspector asks what is behind a wall in four months, you either have the photo or you have an argument.
-
Check the scope against what was actually installed. Rough-in is where the gap between what you specified and what got built becomes visible, and it is the last time that gap is cheap.
What it costs and what it saves
A rough-in inspection is a small line item on a rehab budget. The comparison that matters is not inspection cost against zero, it is inspection cost against the cost of opening a finished wall.
Opening a finished wall is never one trade. It is demolition, the original trade returning, drywall repair, taping, texture, primer and paint, and usually a delay while each of those is scheduled. A correction that costs very little at rough-in becomes a multi-trade sequence once the wall is closed.
That asymmetry is the entire argument for the inspection, and it does not depend on knowing either number precisely.
What to do with this on Monday
-
Put the rough-in inspection on your schedule as a hard gate, not as a task. Nothing downstream starts until it passes.
-
Photograph every open wall before insulation goes in, and store the photos against the property rather than on a phone.
-
Book the inspection before you book the drywaller, so a failure does not strand a crew you are paying for.
-
Walk it yourself first. Twenty minutes, and it catches the obvious failures that waste a whole inspection slot.
The rough-in inspection is not paperwork. It is the last time the house tells you the truth for free.
Frequently asked questions
What is a pre-drywall or rough-in inspection?
An inspection of the electrical, plumbing and framing work after it is installed but before insulation and drywall cover it. On a renovation it is the last point at which those systems are visible without demolition.
When should a flipper schedule it?
After all rough mechanical work is complete and before insulation. Book it before scheduling the drywall crew, so a failed inspection does not leave a crew standing on site.
What happens if the rough-in inspection fails?
The corrections are made and the inspection is repeated. The direct cost is small. The real cost is that drywall cannot start, and every trade behind drywall moves, which on a typical rehab is most of the remaining job.
Do I still need it if I trust my trades?
The inspection is not only a check on your trades, it is a record. When a buyer’s inspector raises a question months later, a passed inspection and a set of photographs answer it. Trust does not survive a resale walkthrough on its own.
Should I photograph the walls before drywall?
Yes, and it is the highest-return five minutes on the job. Photographs of open walls answer questions at resale, support warranty conversations, and let you locate anything behind a finished surface without opening it.
FLIP runs the whole job — scope, subs, schedule and money on one record.